No-Sew Halloween Felt Banner Tutorial:
Step 1: Use a circle die cut and a manual die cut machine to cut out several circles from orange felt. Use a small start die cut to die cut several small stars from white felt. Number of circles and stars will depend upon the size you chose and how long you want your banner to be. Double this number.
Step 2: Use the Silhouette Digital Die Cut Machine to die cut several bats from black cardstock. Double the number of bats you want for this project as well. You can use this bat cut file HERE to make this project.
Step 3: Unroll the length of black twine you want for your banner. Then start creating a pattern with the felt and paper die cut shapes. Play around with the repeating (or random) pattern until you like it.
Step 4: Use a glue gun to glue the twine to the felt or paper shape.
Step 5: Then add the exact same shape on top of the twine while the glue is still hot.
Step 6: Continue these steps until every shape has been added to the banner.
Here's a closer look at this banner. I love layering banners so I've added a wool felt ball banner to my decor.
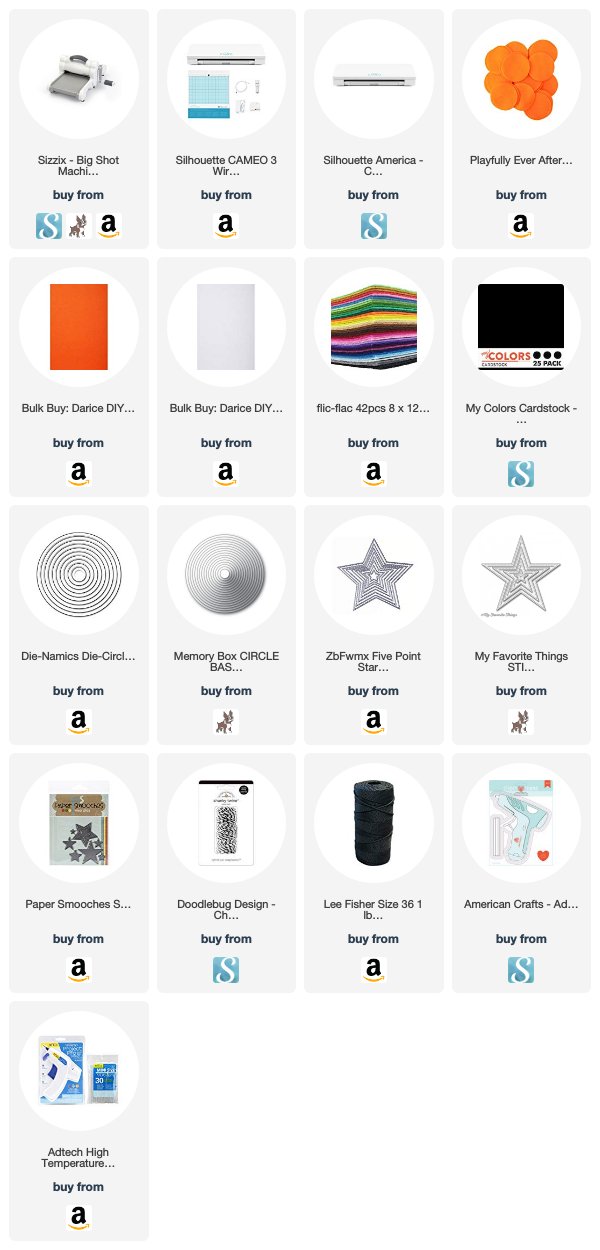
Shop the Supplies:
(Click the product images to shop the supplies. Multiple shop options have been provided. Affiliate links have been used where possible.)
Pin This Image:
Pin this tutorial to your favorite Halloween craft board now!Look for other Halloween projects on my blog all this month!
-->


What a super cute banner Jen! You must have the patience of Job because I'd end up burning myself with the hot glue gun and getting the twine stuck to my fingers and then the whole thing would devolve into me chucking it all on the floor in a sticky mess! LOL
ReplyDelete