This stamped card post was generously sponsored with stamps from My Favorite Things. All opinions expressed herein are mine.
Let's talk coloring stamped images with Copic Markers. Do you love it? Have you tried it? I love stamps like this set HERE from My Favorite Things for coloring with my Copics. In this post, I'll share a few tips and tricks for helping you decide what colors of markers to choose and what tools make coloring stamped images easier. Keep reading to learn more and be sure to pin your favorite images for inspiration or instruction later!
How to Color a House Stamped Card:
Step 1: Use Black Memento Stamping ink to stamp the images. This will keep your Copic marker colors from bleeding. Using a Misti Stamping tool makes quick work of stamping multiple items at once. For this card, I stamped three of the same house images and three of the same tree images. I had some additional images stamped just in case that I didn't end up using for this card, but now I have them ready for another project.
Choosing ink colors for coloring can feel daunting with all the colors out there. I recommend starting with coloring sets. Sets that have 3 green tones, or three pink tones make quick work of making sure you have colors that work well together. Another trick is to actually go to a store that sells them to see how the tones look together in person. It's often hard to judge online what colors you need. And finally, I suggest using a Copic marker coloring chart like this one HERE to track your colors and to see which tones work best together.
Step 2: Cut out each image. You can do this easily with the coordinating die set HERE, but since I didn't have that die set I just used scissors. I always recommend getting the coordinating die with the stamp because it really does make it easier, but scissors totally work too.
Step 3: Cut a piece of white cardstock just smaller than an A2 card size. Use a polka dot embossing folder to emboss the paper. Then center a circle die cut in the upper part of the paper and cut a circle from the paper. This requires a manual die cut machine and a few tools (see supplies below).
Step 4: Cut another piece of white cardstock to A2 size. Use a blending tool and blue stamping ink to create a blue background.
Step 5: Place the embossed paper on the ink blended paper and then use the stamped images to build a scene. I used pop dots to make some of the items pop off the card a bit more.
To complete the card, add a white embossed sentiment on black cardstock. Then add a few red enamel dots and place the entire piece on an A2 card. Here are some additional photos of this card:
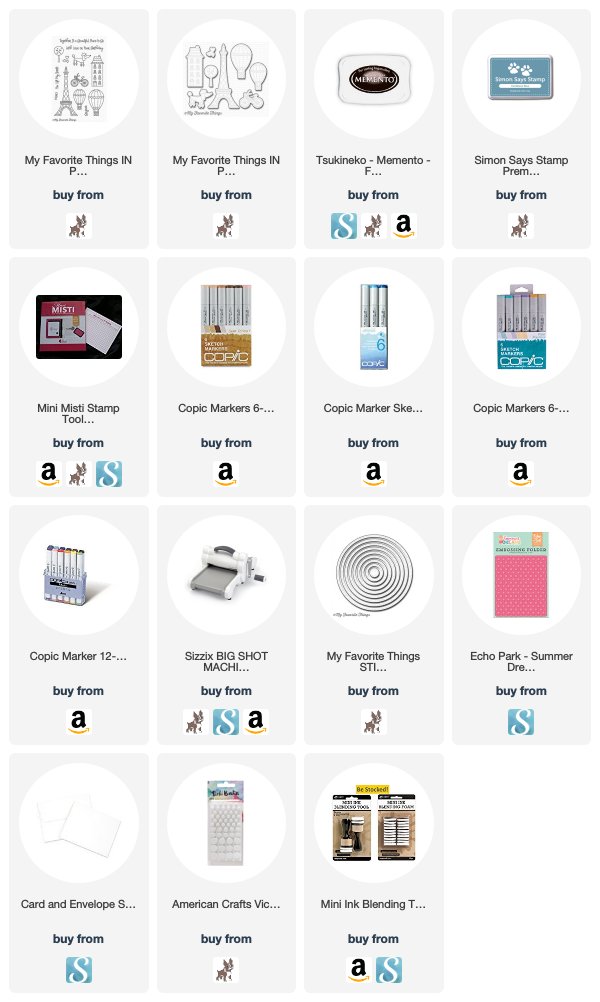
Shop the Supplies:
(Click the image links to learn more. Affiliate links have been used where possible.)


No comments
Post a Comment