
This post was generously sponsored with products from Jillibean Soup. All opinions expressed herein are mine.
I am ready to start creating some Halloween decor. How about you? Read to get your spooky crafting on? Join me today for a tutorial on how to create an Oct 31 Halloween Sign. I originally shared this craft with Jillibean Soup. I've included photos and instructions for creating each part of this project. You can also find some suggested supplies at the end of the post, as well as, links to other Halloween crafting projects you might enjoy. Keep reading for all the steps!

Oct 31 Halloween Sign Tutorial:
Step 1: Paint the inside of a wood frame with black paint and set aside to dry. Choose wooden numbers that will fit inside the frame, but still leave about 2" above each number for additional embellishments.

Step 2: Paint the wooden letters with white acrylic paint. Set aside to dry. When dry, hot glue them to the bottom, center of the frame.

Step 3: Use a Silhouette die cut machine to cut the word "October" out of orange cardstock four times. (I only ended up using the "OCT" part of the phrase, but you could use the entire word if you desire.) Size each word the same height as the space above your numbers and the same width of the frame, from the left side of the frame to the right side of the frame.

Step 4: Layer the letters on top of each other to create thicker letters. Use a glue pen to do this step.

Step 5: Glue the letters "OCT" to the right side of the number "1."

Step 6: Die cut three bats from dark grey cardstock. I chose some bat shapes from the Silhouette library. Use a bone folder to create fold lines where the wings might flap up.

Step 7: Use pop dots to mount the bats onto the frame.

Here's a closer look at the 3D Bats placed on the sign:

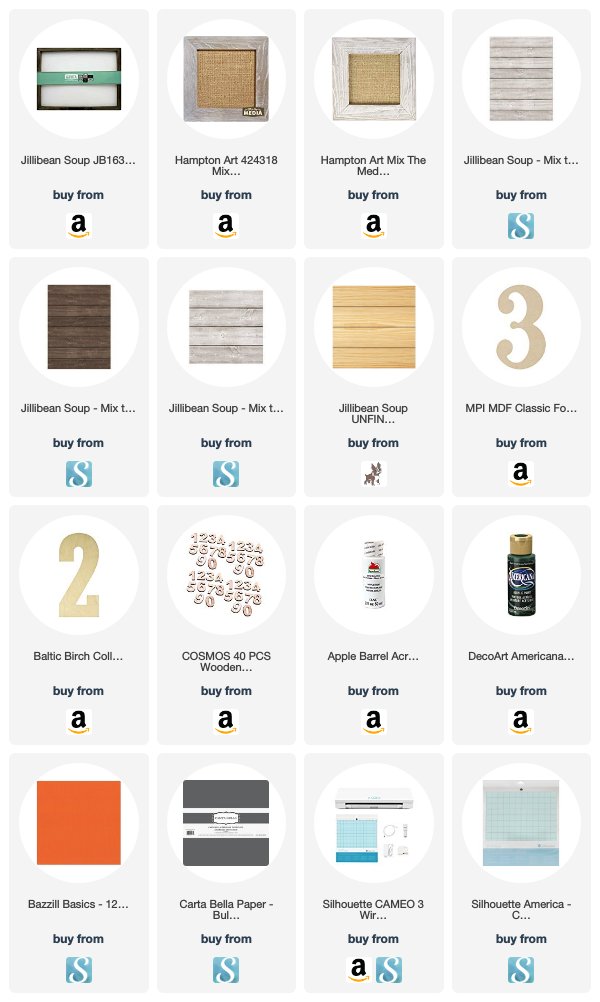
Shop the Supplies:
(Click the product images to begin shopping. Affiliate links have been used where possible. When a product is not available, additional suggestions have been made.)
Pin this Image:
Pin this image to your favorite Halloween craft Pinterest board. Or choose another image from this post to use as inspiration later.

Halloween Crafts Inspiration:
For additional Halloween inspiration, be sure to read about this Witch's Broom Halloween sign tutorial and video HERE.


No comments
Post a Comment