How to Use Your Photography Lighting Kit:
NOTE: All other lighting in the room should be turned off when using these lights. This includes closing blinds or curtains.
Shooting Into a Backdrop: I own a magnetic chalkboard that I've hung on the wall. I purchased some clip magnets that I placed on my chalkboard to hold a variety of backdrops. When I'm using a backdrop, I simply clip it to the chalkboard in whatever position I want. I pull the backdrop taut to make sure there are no wrinkles. Then I scoot my table up to the bottom of the of the backdrop. The backdrop hangs behind the table. The table shown here is just a cheap desk top and legs from Ikea. The lighting kit shown here is listed in the "Shop the Products" section below.
I switch out my backdrops depending upon the shoot I'm working on. Want to read about some inexpensive backdrop ideas? Click HERE for my favorite photo backdrops. I create my photo set up, and then I place the lights on the left and right sides of the project. I look at how the light affects the shadows and highlights of the projects before I ever look through my camera. I move the umbrella stands to get the effect I want. Move them behind to backlight an object, or in front to illuminate the front of your project. I typically like my shadows directly behind the project so I angle them so they both shoot in towards the project.
Lots of people ask me why the umbrellas face towards the projects. Think of the light bulbs pointing towards the project to brighten it. The umbrellas soften the light and diffuse it the fabric of the umbrella. This causes a softer, more natural looking light on my project. If the umbrellas point away from your project, the light is diffused away from your project and you get very little light on your shoot.
Want a brighter effect? You can change the brightness by changing out the bulbs to a higher wattage (make sure to read what your kit can handle). You can also adjust the brightness in post-production with Lightroom or Adobe Photoshop.
Here's a look at the photos I took with this set up:
Shooting Into an Infinity Backdrop: This is a SUPER cheap way to get a bright photo. Use a dry-erase poster board from an office supply store. These are highly shiny on one side and matte on the other side. I like the reflective quality of the shiny side, but you can also use a plain white poster board or white fabric. Look for a bright white. Some poster boards have a grey quality to them, which is more work to fix in post-production.
Clip the top of the poster board to the magnetic chalkboard and gently bend (DO NOT FOLD) the posterboard. Set up your shot with the umbrellas on each side of the shot. Again adjusting to get the shadows and highlights to your liking. Then shoot away. The nice thing about these backdrops, is they're super cheap to replace. In fact, I buy a few and keep them on hand. Then I can easily switch them out when I need to.
Here's a look at this photo set up in a picture. I do lighten and sharpen as needed in Photoshop, but often I barely need to do anything because the lighting kit does most of the work.
Shooting Flay Lay Photography: This shot is a little more challenging. For this post, I set up my shot on the white Ikea table. Then I used my tripod to shoot down into the photo. Some people find it easier to place everything on the floor. With this lighting kit, you can shorten and lengthen the umbrellas to get the light exactly where you want. You can also adjust the tilt to go higher or lower. I love all the control I can have with this kit.
If you don't have a tripod, stand on a stool or chair or even straddle your project and shoot down and into the project. Again, adjust the lights BEFORE shooting. And then adjust again if needed once you look through the lens. This requires a steady hand, which is why I prefer a tripod to keep my shot steady. Adjust your shutter speed if necessary to help.
Here's a look at this flay-lay shot. Look how even that lighting looks? LOVE!!
Below I've suggested some lighting kits you might consider, as well as, some other tools I've used here. I shoot with a Nikon D90 and several different lenses. I really like my 50mm Nikkor lens, but I actually use an old kit lens I got with my camera years ago as well. It's no longer available. Go with what you have. Get used to that, and then you can build your lens arsenal from there.
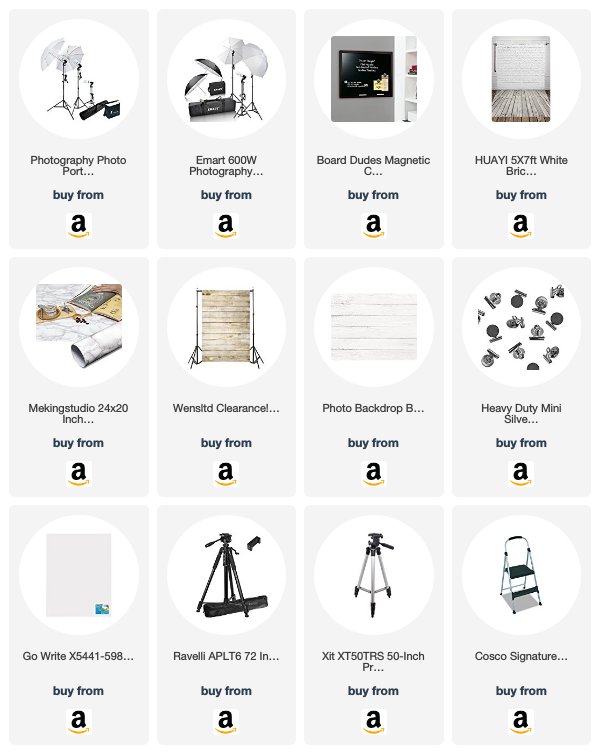
Shop the Products:
(Click the product images for more information. Affiliate links have been used where possible. A small percentage is paid to me from each sale at no additional cost to you for these links.)


No comments
Post a Comment