This blog post was generously sponsored with products from Jillibean Soup and Echo Park Paper. All opinions expressed herein are mine.
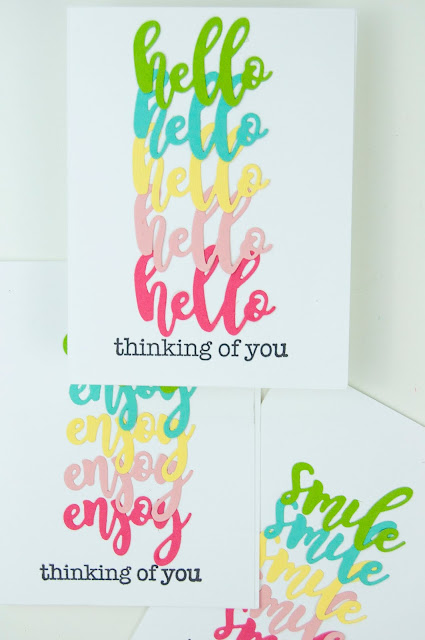
One of my favorite card techniques is to add die cuts to cards. For today's tutorial, I thought it would be fun to show you how you can use repetitive die cutting to create a greeting card set. Keep reading for the full tutorial, as well as, the supply list. Here's a look at the three cards I created with this technique:
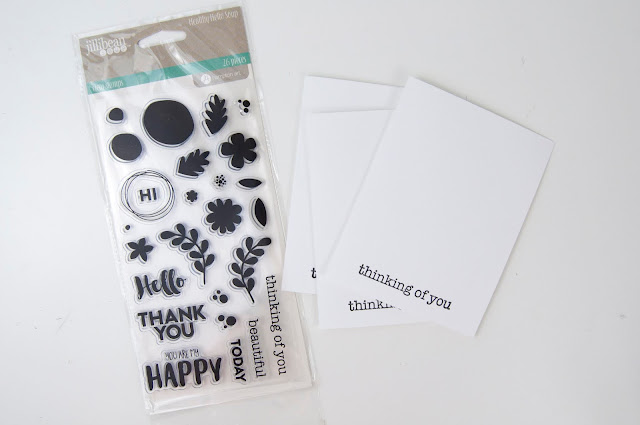
Step 1: Stamp a simple sentiment that will go with your die cut sentiments on the bottom of three cards. I chose "thinking of you" from a stamp set by Jillibean Soup.
Step 2: Die cut the three phrases you've chosen from different colors of cardstock. For these cards I chose five different colors of cardstock. So for the "hello" card, I cut the phrase from those five different colors, and then the "smile" word, and the "enjoy" word from the same sheets of paper. Because this die has all the phrases I wanted, I cut them all at once with my Sizzix Big Shot machine.
Step 3: Glue the phrases onto the card fronts, slightly overlapping each phrase as you go.
Here's a closer look at how the phrases look when glued down together and then how the set looks together.
Like this card set? Be sure to pin it to your favorite card making Pinterest board. Look for additional card tutorials by searching "card" in my search box (in the side bar).
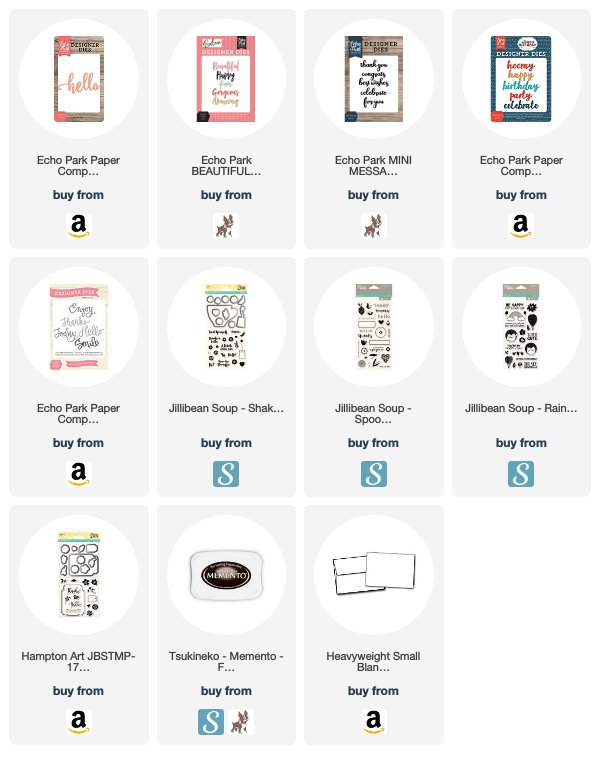
Suggested Supplies:
(Click the image links to shop the supplies. Affiliate links have been used where possible. A small portion of each sale helps to pay for this blog post at no additional cost to you. I appreciate the support!)


Creating a Repetitive Die Cut Greeting Card Set is a crafty endeavor that mirrors the precision and attention to detail required in strategic endeavors, much like the world of TigerExch. Just as each card tells a story with its repetitive design, tigerexch unfolds a narrative of strategic moves in the realm of exchanges. It's fascinating how creativity and strategy intersect in both worlds
ReplyDelete