This post contains items generously donated by Jillibean Soup. All opinions expressed herein are mine.
Have you embraced the embroidery hoop trend yet? I remember sitting at my mother's knee learning how to embroider. Little did I know that the skill I learned as a child would become such a sensation as an adult. So for today's 15 minute craft, I wanted to show you how you can decorate a pre-stitched embroidery hoop. This "love" embroidery hoop tutorial takes only a few minutes to create a beautiful home decor piece. Keep reading for all of the details. Be sure to pin your favorite images for crafting inspiration later.
Love Embroidery Hoop Tutorial:
1. Gather all your supplies. Pre-cut and layered flower, die cut leaves, burlap leaves, an embroidery hoop, and a glue gun.
2. Use a glue gun to glue the burlap leaves to the hoop.
3. Use a scoring tool to fold the die cut leaves in half. This gives them a more realistic dimension on your project.
4. Glue the die cut leaves to the burlap leaves.
5. Die cut some smaller, different shaped leaves from a darker color of green cardstock and glue them to the larger, green leaves.
6. Use a scoring tool or a pen or pencil to round the edges of your die cut flower. You can read more about my favorite 3D Silhouette die cut flowers in this post HERE.
7. Glue the flower to the center of the leaves.
Here's another look at this project. Isn't it amazing what a few key die cut and textured pieces can do to a project? And seriously this took me less than 15 minutes to create. You could easily recreate something like this all on your own even if you do all the embroidery stitches yourself.
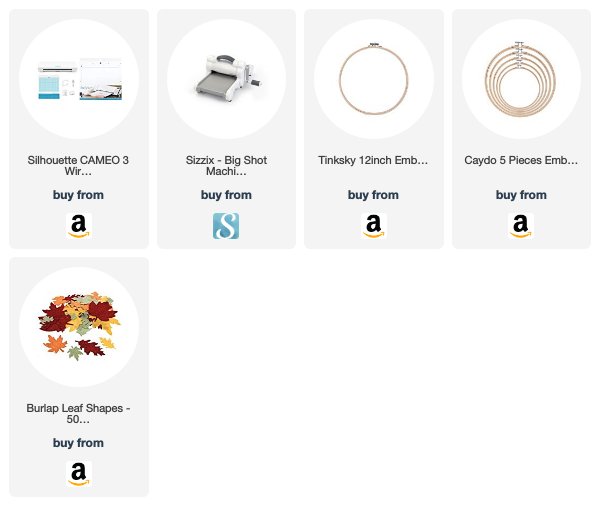
Shop the Supplies:
(Click the product images to shop. Affiliate links have been used where possible.)
 -
-


I "love" this! Thanks for joining!
ReplyDeleteusa -
ReplyDeleteraitube -
girls -
free visitors -